


Connect FileMaker to the Shopify API

By PCIPal
· 694 views

See how to run an online store from your Claris FileMaker solution
Have you thought about setting up an online website or business?
There are lots of e-commerce options for selling merchandise online, and Shopify is just one of the options available to you. Since we have received many questions about Shopify and its compatibility with FileMaker, we created a free video and sample file to get you started with integrating the two to build an online shop from your FileMaker solution.
Check out our video to learn about these topics and more:
- What is Shopify and how does it work?
- Why should you integrate Shopify with FileMaker?
- How do you connect your Shopify store with the API?
- How do you push and pull customer accounts between Shopify and FileMaker?
This video highlights the benefits of integrating these two platforms so that you can easily manage an online business right from FileMaker!
While this sample file will give you the basics, the Shopify API has many additional integration options. If you need help with integration or want to add additional features, our development team can help.
Visit Productive Computing University and enroll in the FileMaker Features & Free Resources course where you will find this sample file, a variety of tips, and additional tools to help you with your Claris FileMaker development.
FileMaker Features & Free Resources
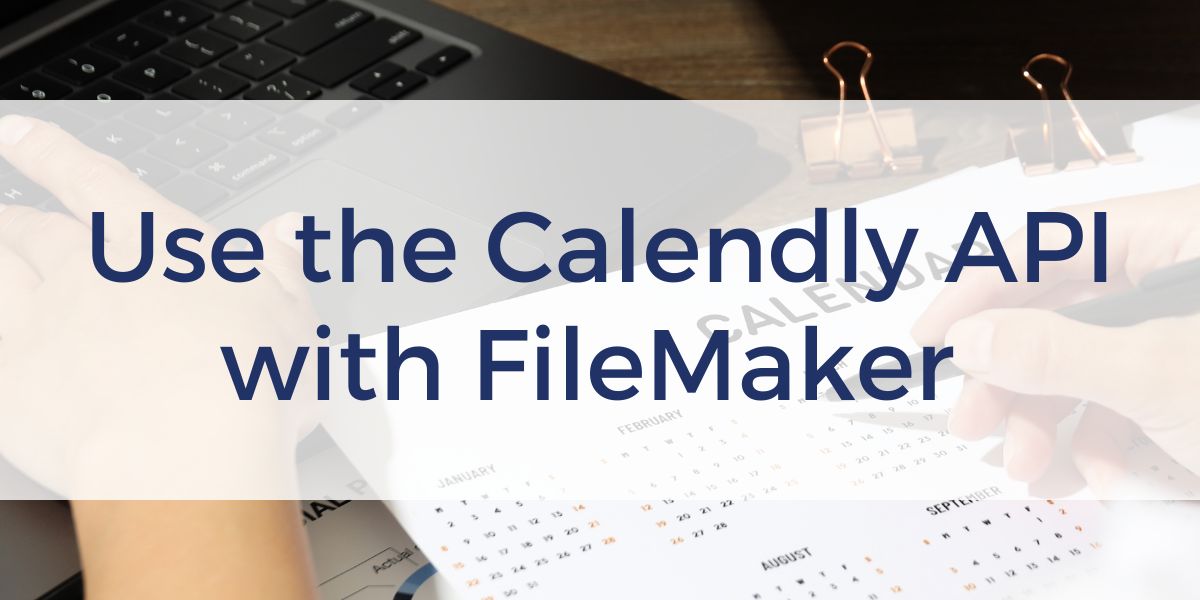
We offer a variety of sample files and tips to help you with your Claris FileMaker development. You can find this Calendly API sample file, and others, in our free course, FileMaker Features & Free Resources, at Productive Computing University.
If you are brand new to the world of APIs, this is the perfect place to start exploring the possibilities. API stands for Application Programming Interface and is a software intermediary that allows applications, like Calendly and FileMaker, to talk to each other. From QR codes to weather forecasts, APIs let you customize your solution to suit your specific needs. The sample files will show you how to make the initial connection and do a simple pull of data.
If you want to dive deeper and learn more about working with APIs in FileMaker, sign up for our API Fundamentals course or read our blog post, Exploring the Basics of API Integration with FileMaker.
Other products and services Productive Computing, Inc. offers:
- What can PCI do for you? – Overview Video of Productive Computing Services
- Consulting and Development – services billed by the hour
- Maintenance and Support – services billed monthly
- Packaged Services – flat fee for Health Assessment, Server Installation, etc.
- Plug-ins – tools to integrate with QuickBooks, Outlook, Google, etc.
- Core CRM Pro – customizable and scalable CRM built on FileMaker
- Claris and FileMaker Licensing – discounts on new seats and renewals
- FileMaker and QuickBooks Hosting – options to host your files in the cloud
- Productive Computing University – free and paid online video training courses for beginner to advanced users and developers

The post Connect FileMaker to the Shopify API appeared first on Productive Computing, Inc..
Recommended Comments